- Spin up a virtual Qualcomm Dragonwing RB3 Gen 2 in Qualcomm Device Cloud (QDC).
- Install the Edge Impulse CLI on the device.
- Connect the device to Edge Impulse Studio.
- Run AI inference on a static test image.

Prerequisites
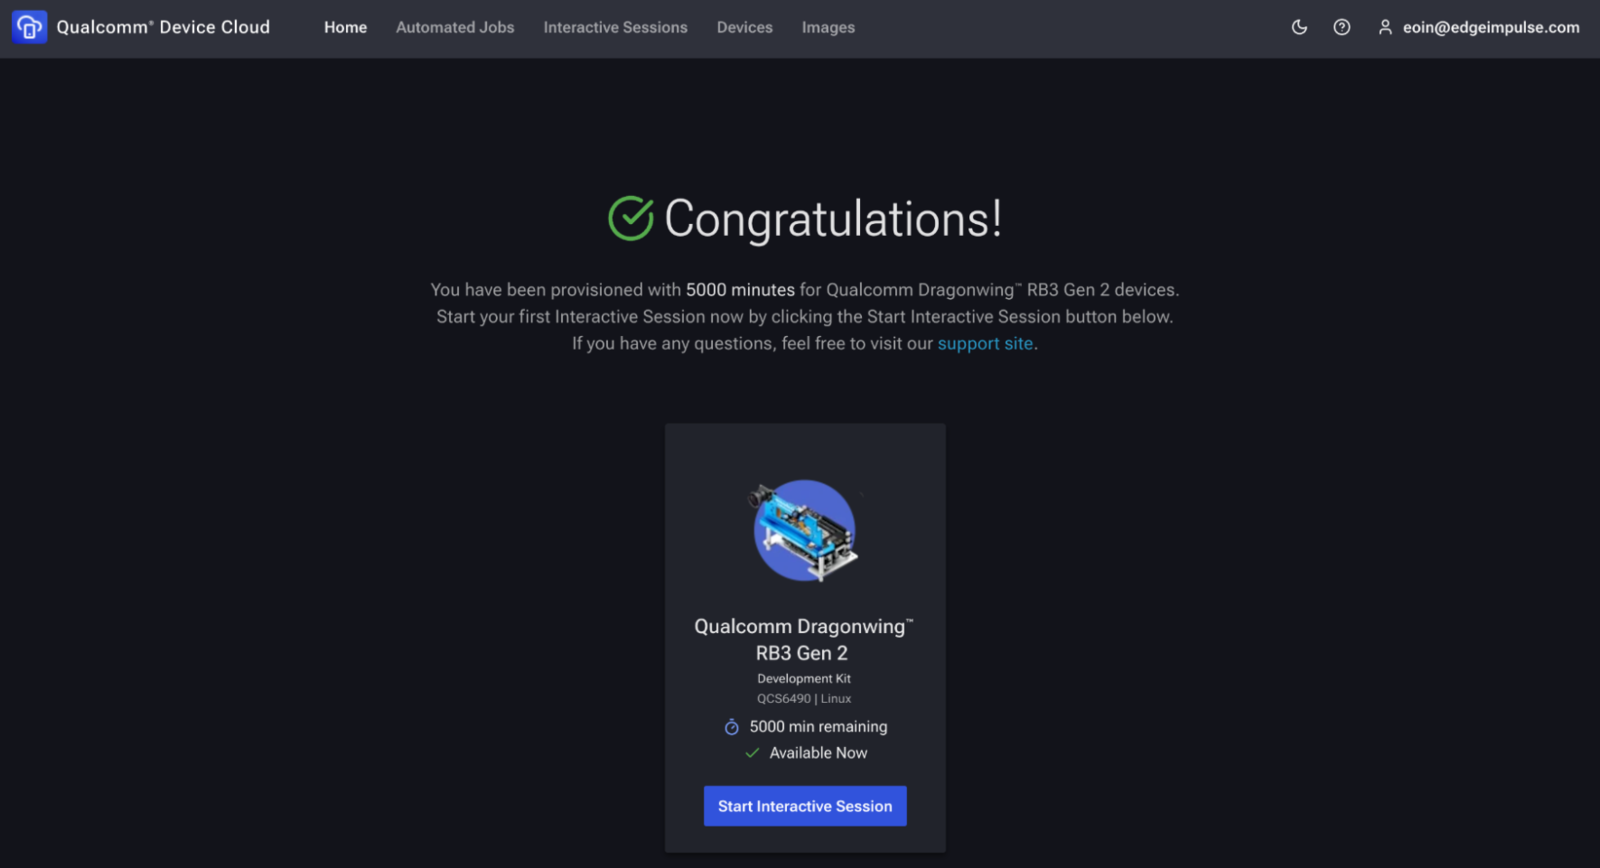
- Qualcomm Device Cloud account – Sign up for free access to the Device Cloud.
- Edge Impulse account – Sign up if you don’t already have one.
1. Launch an interactive RB3 Gen 2 session
Click the Devices tab in the Qualcomm Device Cloud web UI, then select Advanced on-device AI with Qualcomm Dragonwing™ RB3 Gen 2 You should see a suggestion to Try Now. If you don’t see this option, you may need to request access to the RB3 Gen 2 device type.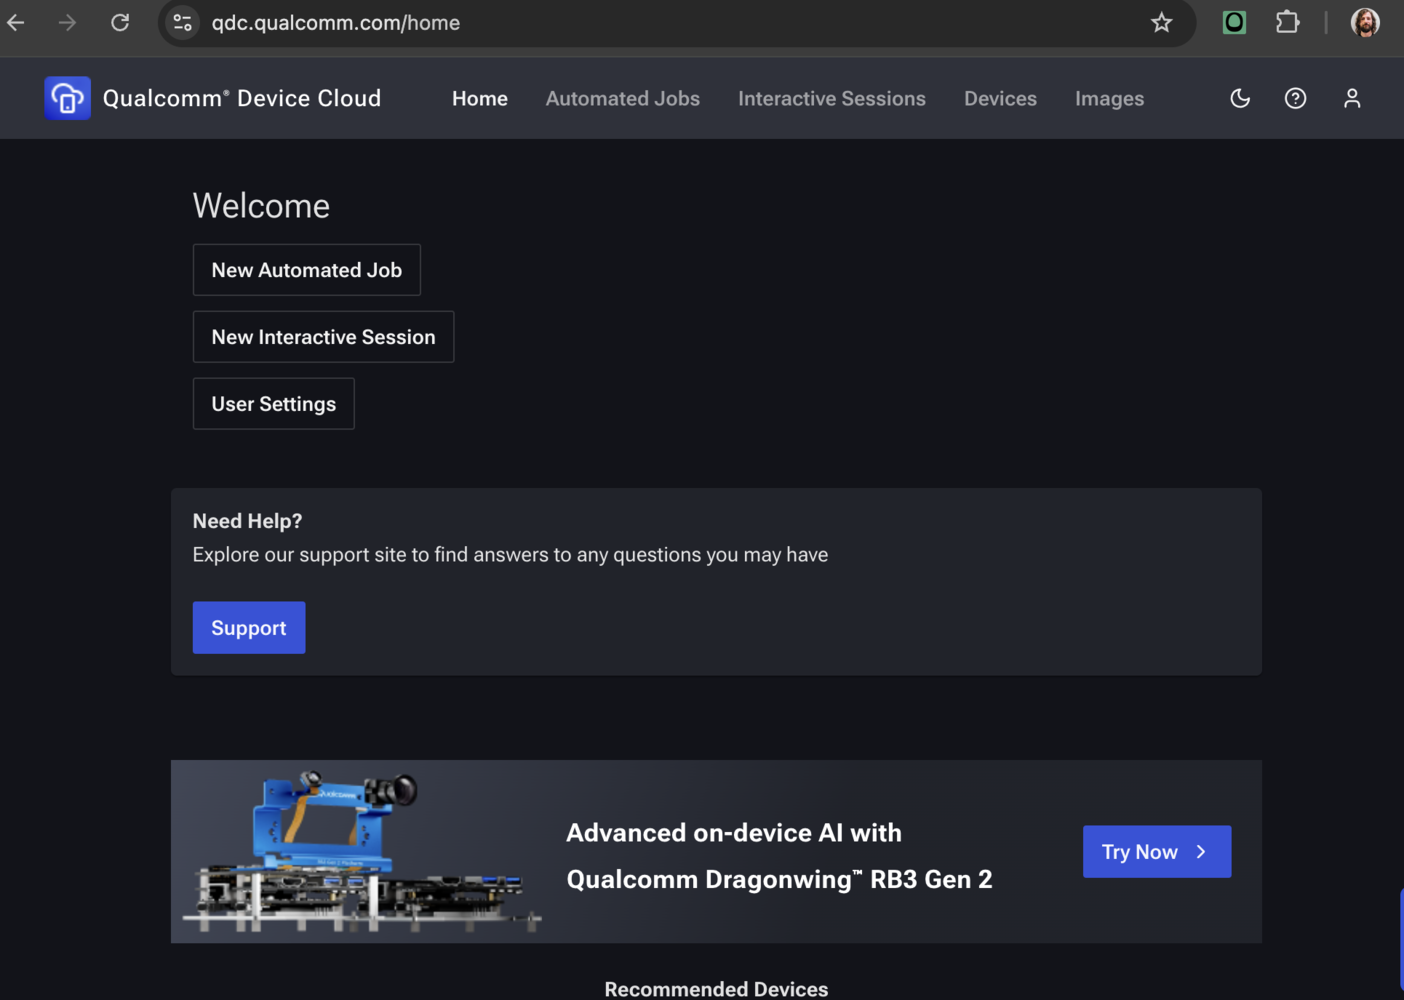
- Log in to QDC > Devices > IoT > RB3 Gen 2 > Start Interactive Session.
- Session mode
- SSH only – headless shell (fastest).
- Screen mirroring + SSH – adds VNC if you need the GUI.
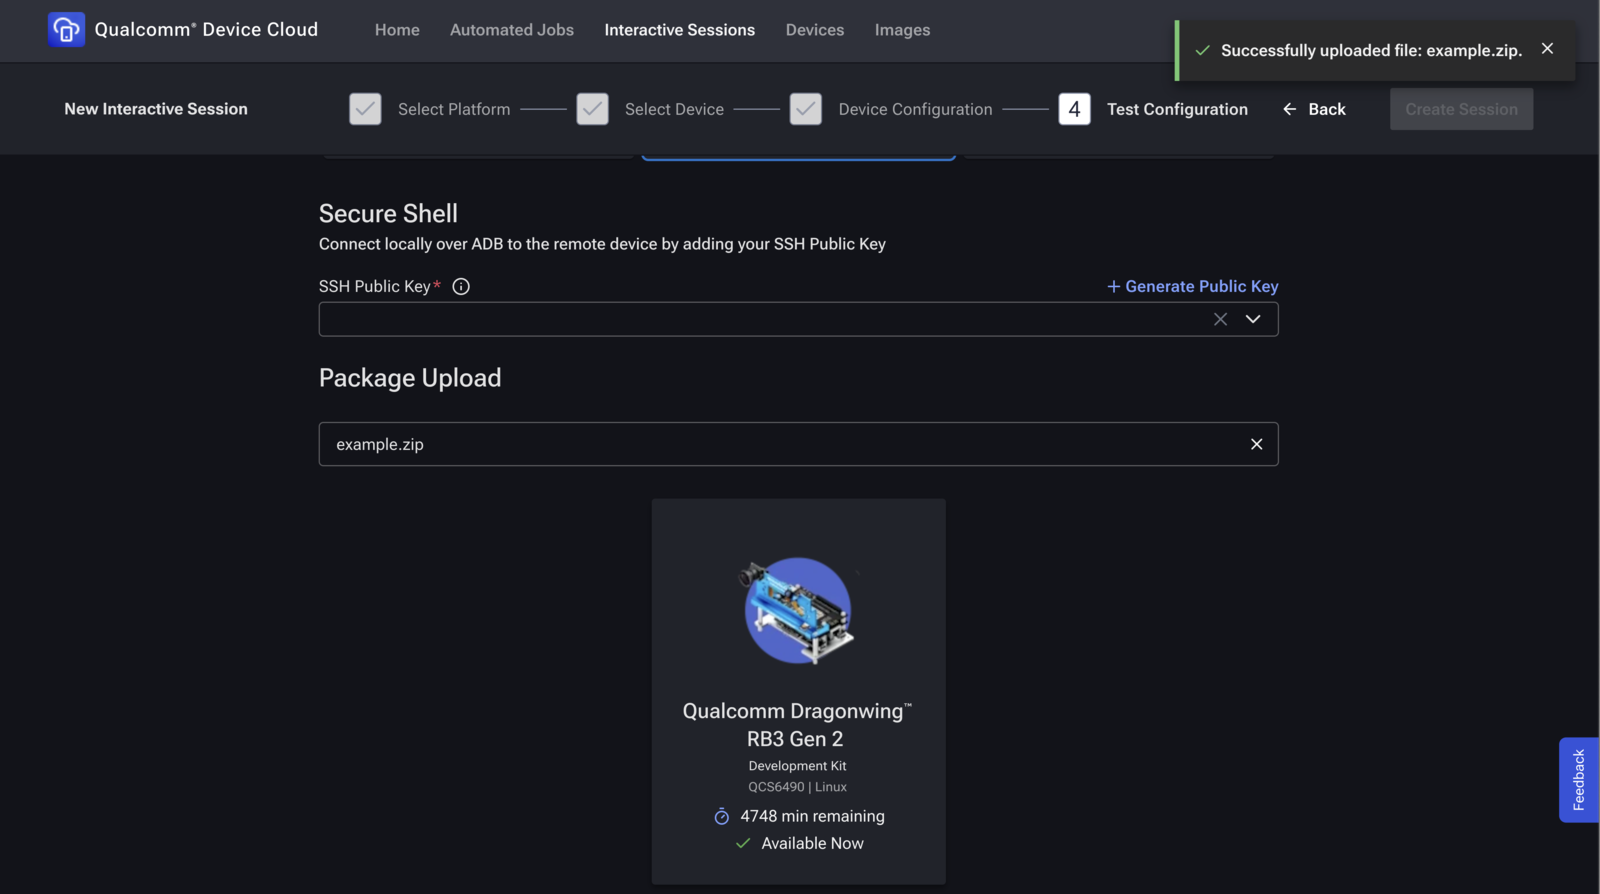
- Package upload – This is where you can upload files to the board. Create a zip with your test image (e.g.,
example.jpg) and upload it here.- If you skip this step, you can upload files later using the QDC web UI.
- Click Start. QDC powers on the board and shows your SSH credentials.
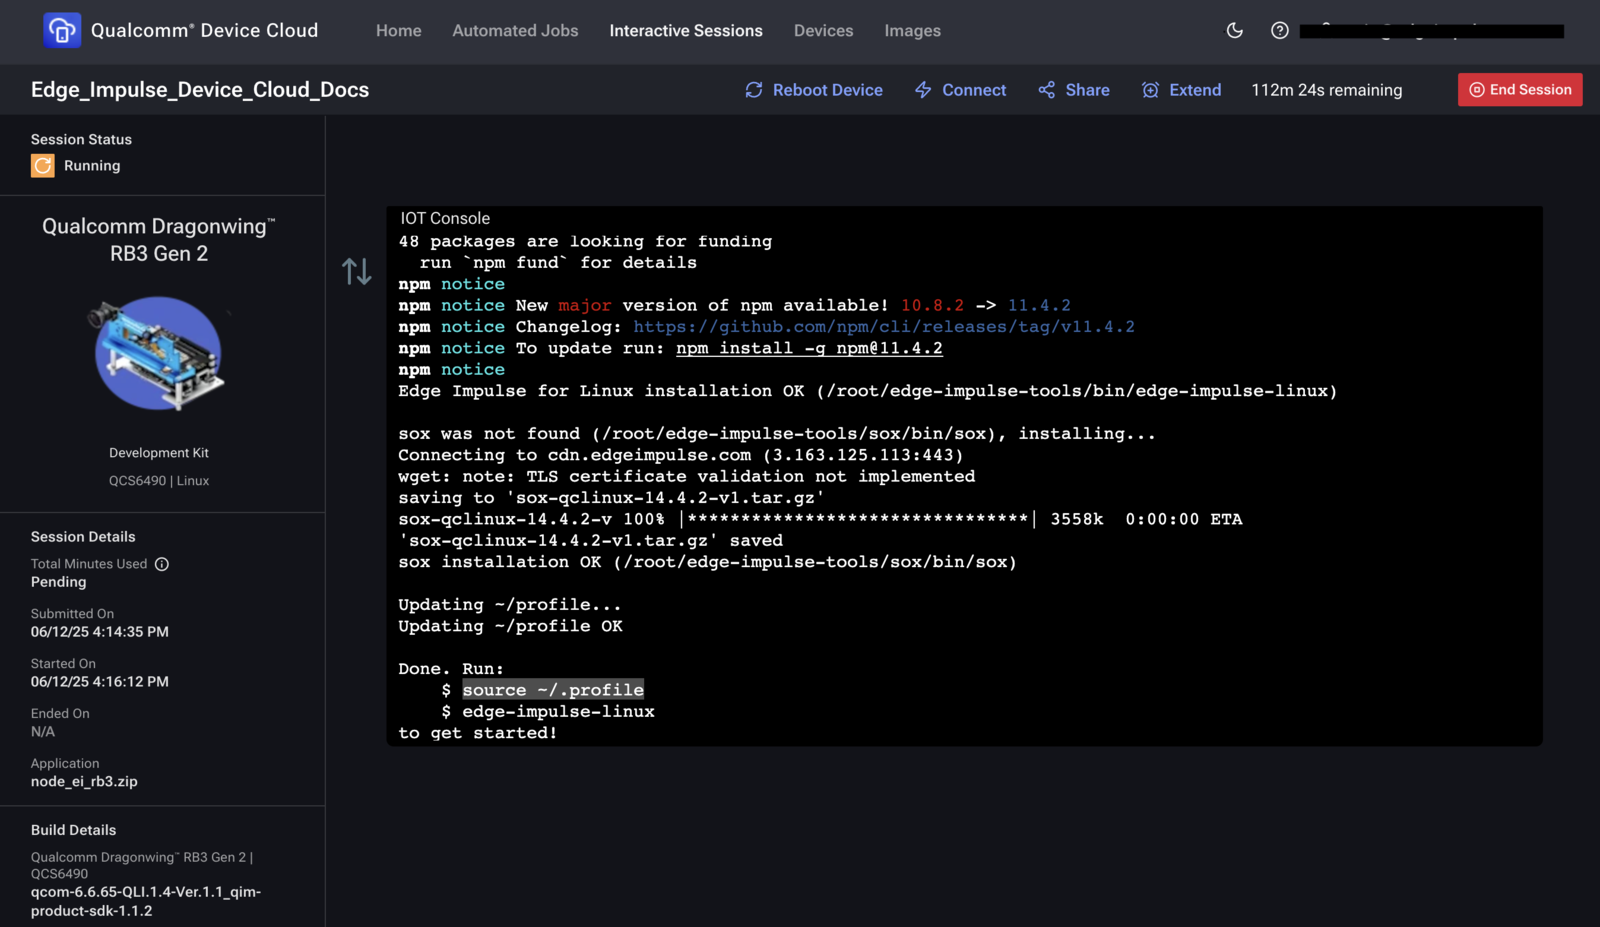
2. Install the Edge Impulse CLI
QDC images are minimal. We have prepared a script to install Node.js and the Edge Impulse CLI once per session: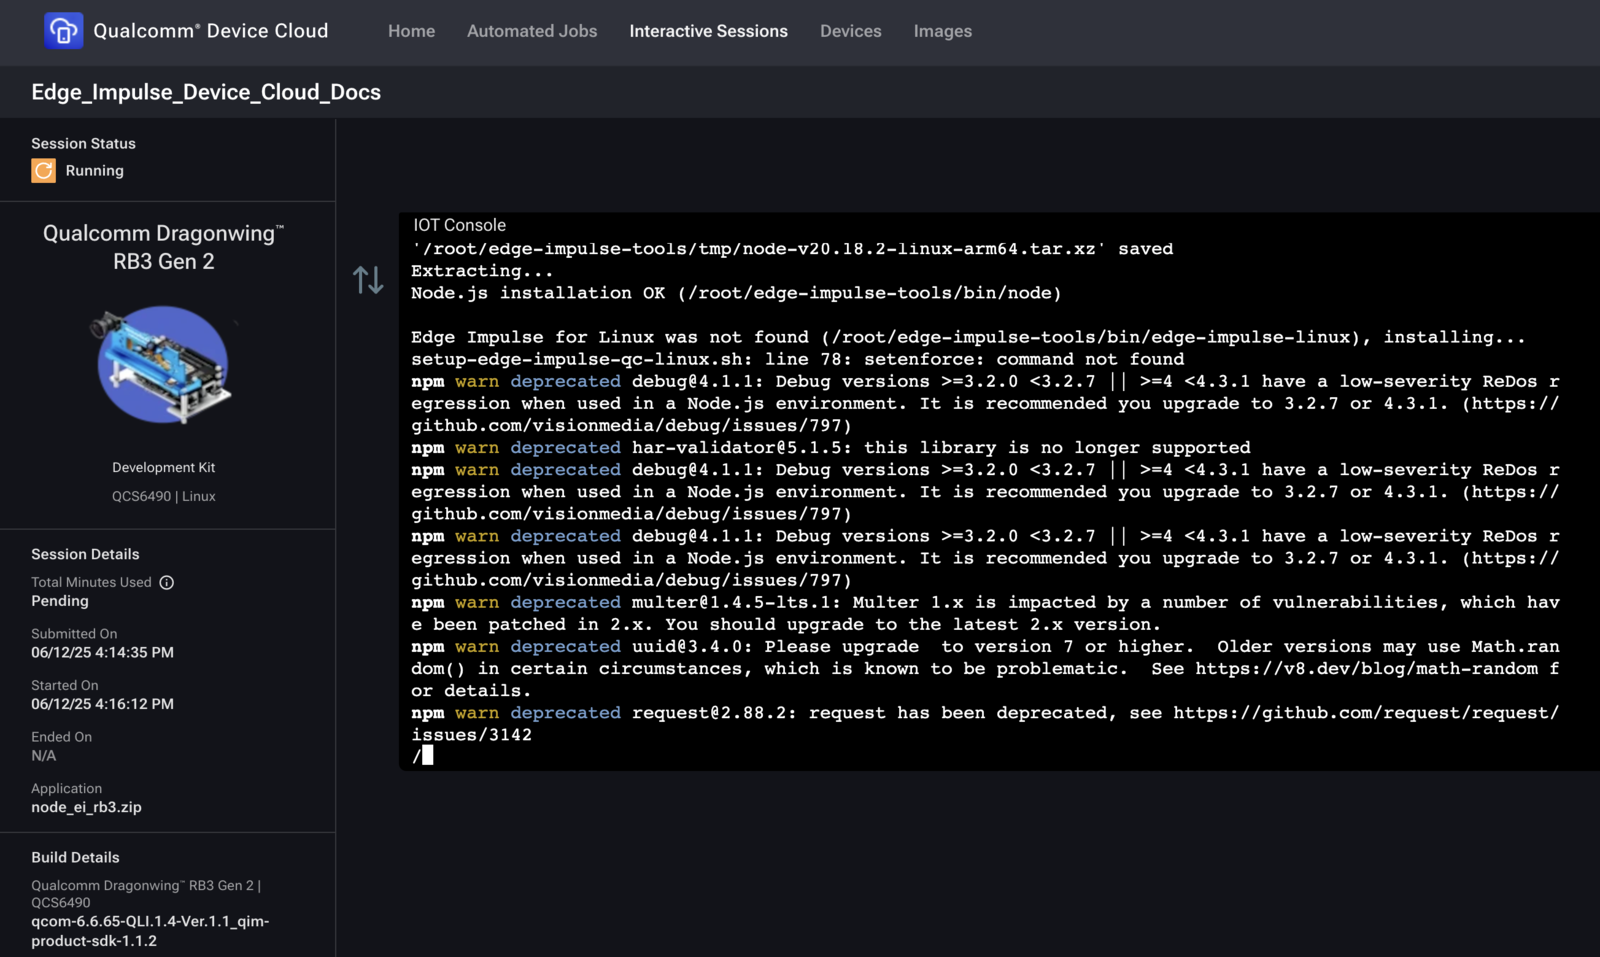
3. Initialise the CLI environment
4. Connect the board to Edge Impulse Studio
- Paste the one-time authentication key from Studio > Devices > Connect.
- Select or create a project.
- Camera prompt: Choose None – we will use a static image.
5. Run inference on a static image
5.1 Upload a test image
example.jpg (or any JPEG/PNG) to /data/local/tmp on the board, then move it to your home directory: